OEM Correct Mercedes Interior Paint Used to Restore Mercedes Benz SLK 230
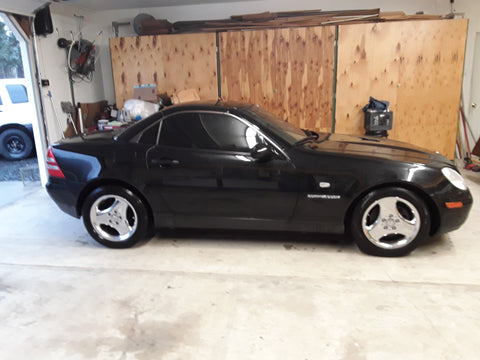
Earlier, we began covering the interior restoration being performed by Brad Streilein on his wife Rita’s 1998 Mercedes Benz SLK 230. He says the Mercedes has always been a great car and looks fantastic on the outside, however, the inside of the car was showing its age. The seat leather was cracked, and the dash, console, glovebox and door pulls were scratched and peeling.
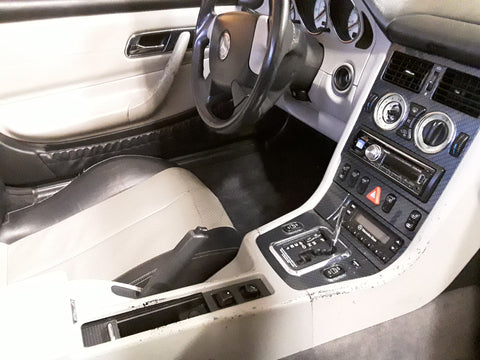
Before – Scratched and peeling
This is common with most all Mercedes Benz SLK models. The issue is the plastic components have a rubber like coating that’s prone to chipping and peeling, which reveals the underlying black plastic. There are touch-up kits available that use this type of coating but Brad thought “Why use the same coating that will flake off again?”.
Brad decided he would paint the interior parts himself and was researching interior paints when he learned of ColorBond LVP Refinisher through Give Greg’s Upholstery in Grants pass Oregon, who uses ColorBond as part of their business. “I wanted to change the color from tan to black and was immediately intrigued that ColorBond offered OEM correct Mercedes interior paint colors. So, I called to learn more. After talking with them, I decided to order” says Brad.
Mercedes Interior Restoration
The first step in refinishing the plastic interior trim was to remove the rubber type paint from the hard-plastic dash, console, glovebox and door pulls. Brad found using very hot water loosened the paint and allowed it to be more easily removed. He used a steamer (like that used to clean drapes) to lift the paint in the nooks and crannies. “I also used my turkey fryer. I just made sure I turned off the flame, after the water was heated, before I put the parts in so that they wouldn’t melt”. Brad laughs.
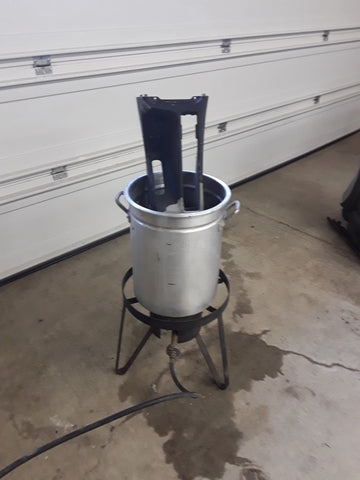
Turkey fryer used to remove coating
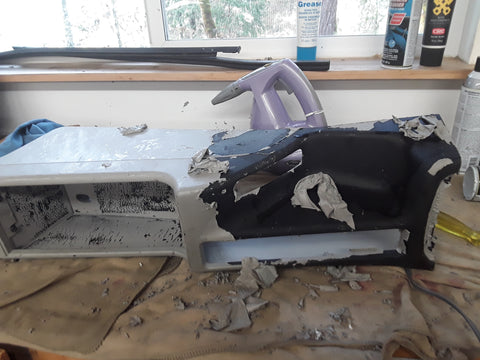
Steamer being used to remove coating
After removing the parts from the turkey fryer, they were scrubbed with water and an SOS pad to take off any remnants. ColorBond Prep Cleaner was then used to remove any remaining dirt or oil. As a final measure, Brad wiped the parts down with alcohol to be sure any finger oil was removed. Then he warmed the parts for five minutes in a 170° oven, and applied ColorBond Adhesion Promoter while they were still warm.
Three coats of LVP Refinisher OEM correct Mercedes interior paint was later applied to the carpet, door panels and all the hard-plastic trim (since the seat leather was cracked, they were reupholstered). Brad said the ColorBond went on great. “The results are excellent. It looks great and all the grains in the plastic is as defined as before” says Brad.
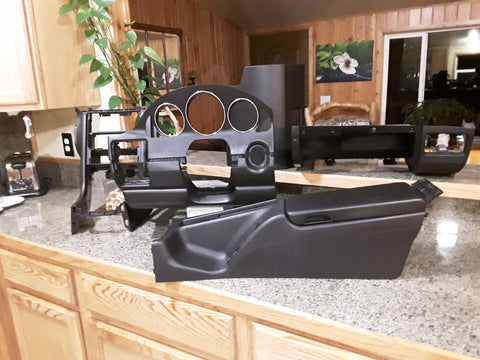
A few of the repainted parts
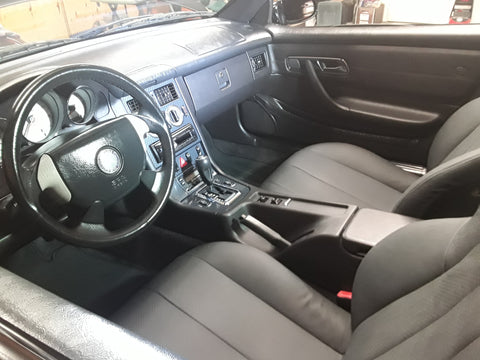
After
Colorbond Products Used
These ColorBond Products were used to prep and paint the interior:
- 1 Bottle Prep Cleaner – $6.95
- 1 Can adhesion promoter – $15.95
- 8 Cans LVP Refinisher – $131.92 (8 cans at $16.49 each)
Total ColorBond Cost – $154.82
Replacement components from Mercedes Benz would have cost a few thousand dollars!
Brad says that his total time to prep and paint the components was about 12 hours. The biggest challenge was putting it back together. “It was a lot of work but worth it. The little lady was happy with her car!
For more information on OEM correct Mercedes interior paint colors click here.