ColorBond: The Best Way to Refinish a Motorcycle Seat
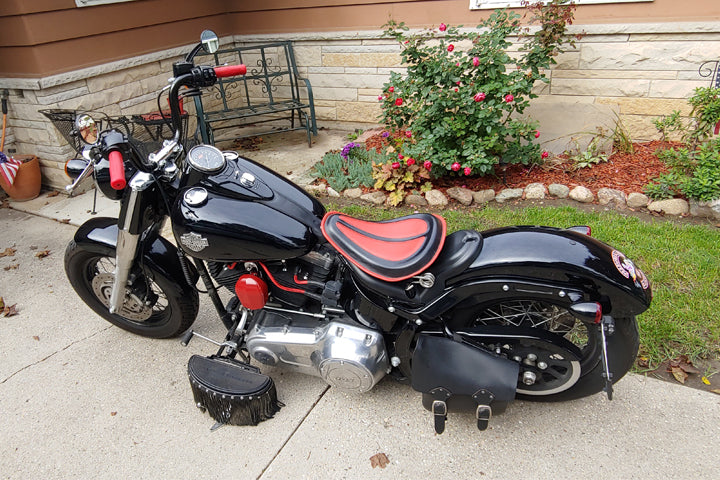
Dave Moneysmith is the Vice-President of the FreeWheelers Motorcycle Club and wanted a black and red seat for his 2013 Harley-Davidson Softail Slim FLS so that it would be in theme with the motorcycle club colors. However, he didn’t want to give up his current seat because it is so comfortable, and he likes how it looks. Plus, the cost of having it re-upholstered was prohibitive.
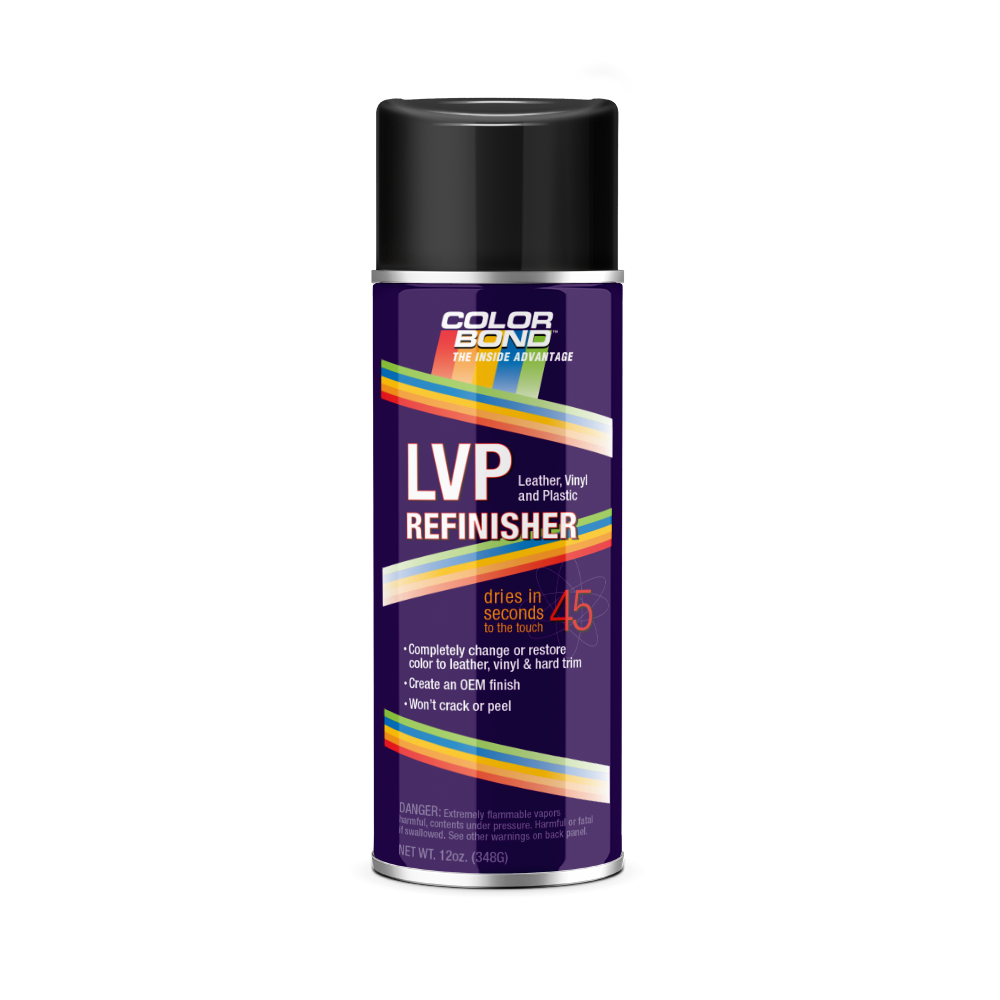
While researching ideas to refinish a motorcycle seat, he came across ColorBond LVP OE. After researching, he decided to take a chance and try it. “I could not be more pleased with the results!” says Dave.
“I would highly recommend the following process to anyone wishing to do a custom look on their current seat. Note that the prep work is extremely important. Take your time and do it right. After cleaning the leather seat with 70% alcohol, I used green Frog Tape for my masking, making sure edges were burnished down. That part of the prep took the longest. Then I carefully sanded the areas to be coated with 1000 grit sandpaper, just enough to ‘grey’ the black leather. I then removed the dust and used ColorBond Prep Cleaner on the areas to be coated,” Dave explains.
“I ordered ColorBond LVP OE in Chevrolet (098) Vette Red as I loved the color. When applying the coating I used extremely thin coats, almost a mist, and built the color up in layers until I was satisfied with the color. I applied multiple coats, waiting 10 minutes between coats. Then it was left to dry. It was dry to the touch in a short time but didn’t get put back on the bike for 24 hours. I took a clean white cloth and rubbed the seat vigorously and not a hint of color was on the cloth. The seat is as soft and pliable as it ever was. I am looking forward to seeing how the color holds up after I put some miles on it. But I suspect it’s going to hold up well,” continues Dave.
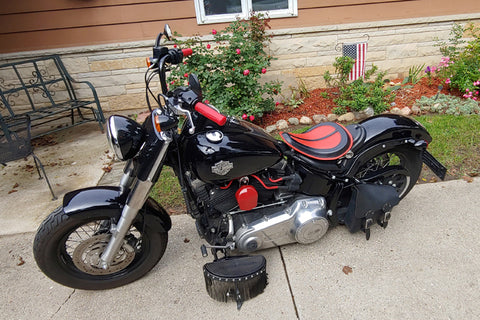
“I could not be happier with ColorBond products. The guys in my motorcycle club loved the results, and there were no challenges using ColorBond to restyle a motorcycle seat. To reupholster the seat would have cost $350, and new seats of lesser quality run about $120 to $400. However, I have only about $50 into it between one can of LVP OE, Prep Cleaner, and Frog Tape. ColorBond is a great product and with my experience so far, I would recommend it. I’m proud of the outcome, I can look at the result and say ‘I did that!’” Dave concludes.
Congratulations to Dave on a job well done!
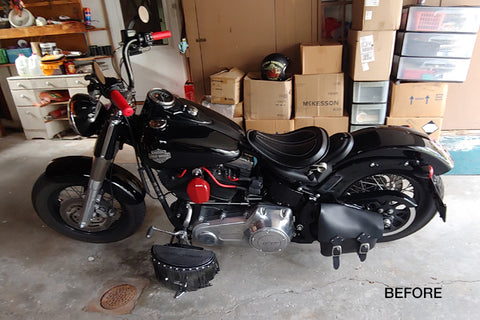
Before
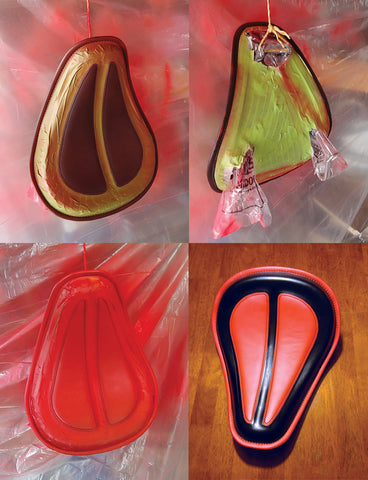
During
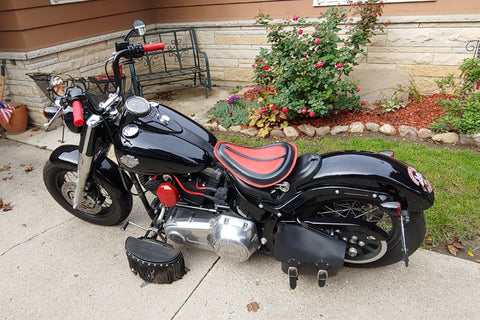
After
How to Refinish a Motorcycle Seat Using ColorBond LVP OE
If you want to refinish a motorcycle seat without replacing it or sending it out for upholstery, the right prep and a patient process make all the difference. The goal is a clean, even finish that still feels like a seat, not a stiff, coated surface. Take your time on prep, apply light coats, and let it cure fully before you ride.
Step 1: Remove the Seat and Set Up a Good Workspace
Take the seat off the bike so you can work comfortably and keep overspray off the motorcycle. Work in a clean, dust-free, well-ventilated area. If you can, set the seat on a stand or a box so you can reach the sides without touching the surface you are refinishing.
Step 2: Clean the Seat Thoroughly
Before you refinish a motorcycle seat, you need to remove everything that can interfere with adhesion, including dirt, skin oils, and old conditioners. Wipe the entire seat down carefully and consistently. Pay extra attention to high-contact areas like the rider portion, edges, and seams where buildup is common.
Step 3: Do a Final Wipe With Alcohol
After the initial cleaning, wipe the surface with 70% alcohol to help remove remaining residue. Let it fully dry. This step helps prevent issues later, like fisheyes or uneven coverage.
Step 4: Mask Off Any Areas You Do Not Want to Refinish
Use quality tape like Frog Tape and take your time here. Press the tape down firmly and burnish the edges so you get crisp lines and prevent bleed-through. Masking is often the longest part of the job, but it is also what makes the finished seat look intentional.
Step 5: Lightly Scuff the Surface
Use a fine grit, like 1000-grit sandpaper, and scuff only the areas you plan to refinish. You are not trying to remove material, just dull the surface enough to help the coating grip.
Step 6: Remove Dust Completely
Wipe away sanding dust with a clean, dry cloth, then follow with another wipe to make sure nothing remains on the surface. Dust left behind can cause a gritty or uneven finish.
Step 7: Use ColorBond Prep Cleaner on the Refinishing Areas
This is the final prep step before application. Use ColorBond Prep Cleaner on the areas you plan to refinish and allow the surface to dry completely before moving on.
Step 8: Test Your Spray Pattern Before You Start
Shake the can thoroughly and spray a quick test on cardboard or paper to confirm even flow. This helps avoid heavy application on the seat itself.
Step 9: Apply the First Coat as a Very Light Mist
When you refinish a motorcycle seat, the first coat should be extremely light. Keep the can moving and avoid lingering in one spot to prevent buildup.
Step 10: Build Color Gradually With Thin Coats
Apply additional light coats, allowing proper time between each one. Thin layers help preserve flexibility and maintain the original texture of the seat.
Step 11: Watch Your Edges and Seams
Edges and seams collect material quickly. Use lighter passes in these areas and approach from different angles to keep coverage even.
Step 12: Let the Seat Cure Before Reinstalling
Although the surface may feel dry quickly, curing is what gives the finish durability. Allow the seat to cure fully before reinstalling it on the motorcycle.
Step 13: Do a Simple Rub Test
Once cured, rub the refinished area with a clean white cloth to confirm the surface has set properly before riding.
Step 14: Reinstall and Ride, Gently at First
Reinstall the seat carefully and avoid harsh abrasion during the first few rides. Once fully cured and used normally, the seat should remain comfortable and look refreshed.
Ready to Refinish a Motorcycle Seat?
If you are ready to refinish a motorcycle seat and want a solution designed specifically for leather and vinyl, ColorBond LVP OE is a proven choice. It allows you to customize or restore your seat while keeping it soft, flexible, and ready for the road!