Refinishing Headrests: An Affordable Alternative to Replacement
Refinishing Mercedes Headrests Cost Only $16.49! New Headrests Would Have Cost $1400!
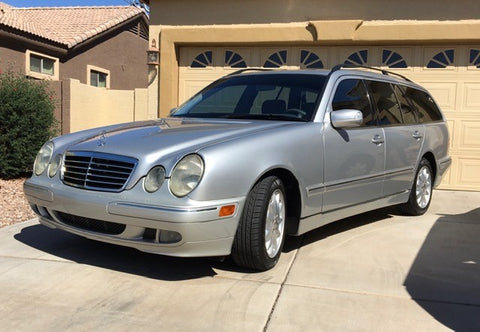
Refinishing headrests is one of the easiest and most affordable ways to restore your car’s interior without sacrificing quality. Replacement interior parts for a car or truck can be expensive. Especially for premium brand vehicles. Bill F. found this out firsthand. Thirteen months ago, he purchased a 2001 Mercedes E320 wagon which needed some work, but the sales price was right. Bill began refurbishing the car himself and found the leather headrests were missing from the rear seats. The previous owner thought they blocked rearward visibility and removed them, but now they were nowhere to be found.
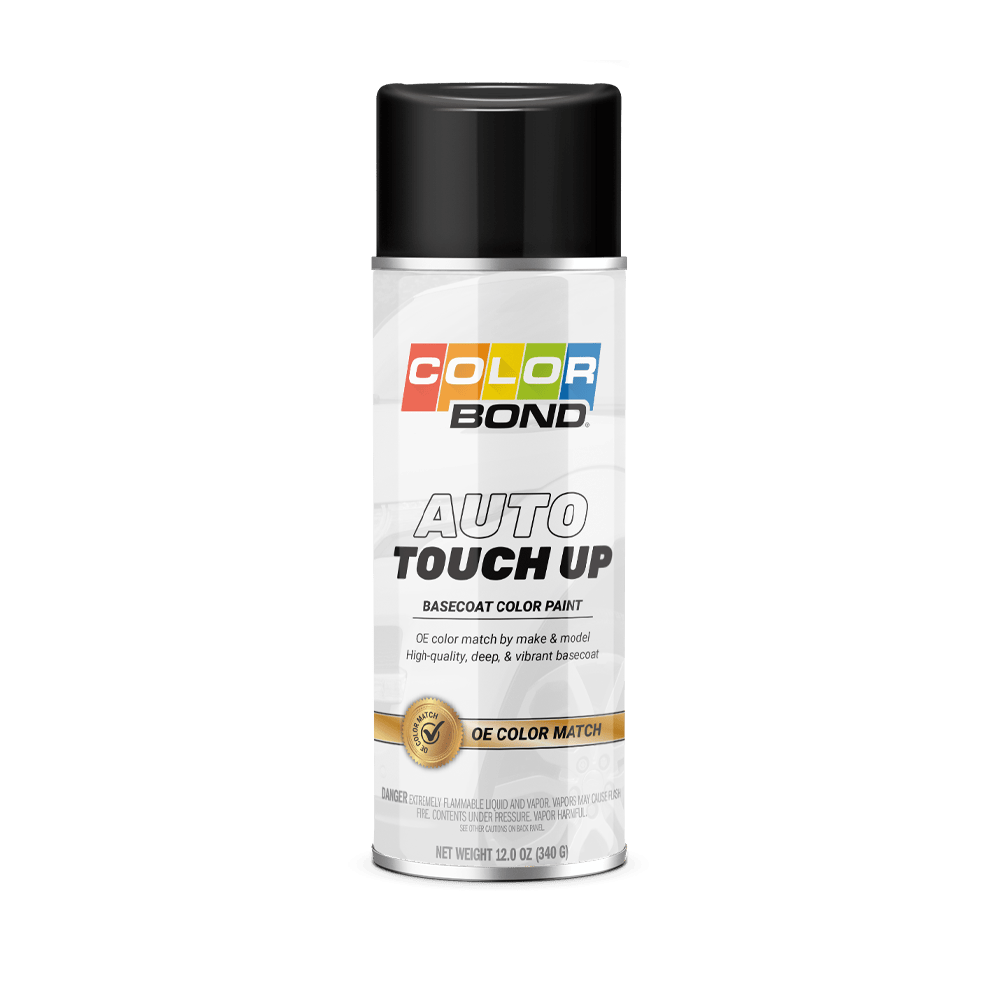
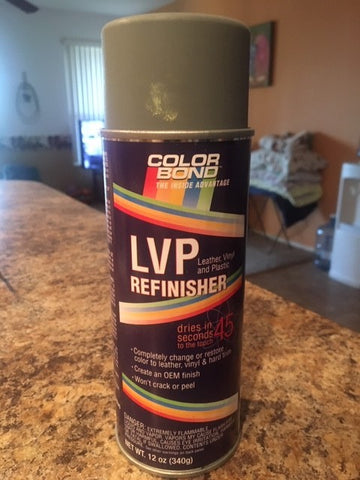
Upon calling his local Mercedes dealer, Bill learned the three replacement headrests would cost $1,400! He moved onto Plan B. After searching on ebay he found a set of headrests for $65.00. The problem was they were black and didn’t match his gray interior, but he purchased them knowing refinishing Mercedes headrests to the correct color was an option. When Bill began looking into options to change the color a friend at Star Service, located in Tempe Arizona, recommended ColorBond. Bill went ahead and purchased ColorBond LVP OE in the OEM correct Mercedes color and got to work.
“I cleaned the headrests with rubbing alcohol, and then painted them with the ColorBond. The job didn’t even take an hour to complete.” Explains Bill. “ColorBond maintained the detail of every texture and stitch. There were no globs of paint or spots of varying finish. They looked exactly like the front headrests. I can’t tell the difference and I’m fussy. I’d call it amazing. One can of ColorBond was required at cost of $16.49 versus $1400 for new headrests. I’m happy I saved over $1300! It turned out so well I also refinished the discolored grab rails on the ceiling as well as the arm rests. A fellow can almost get carried away!” Bill concludes.
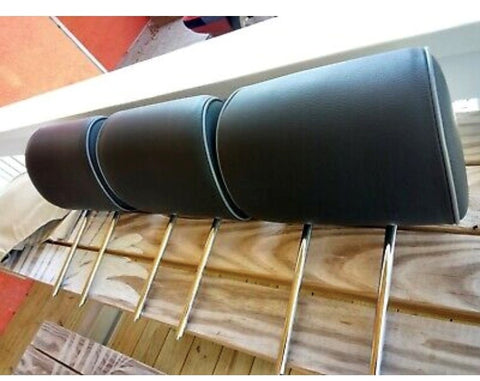
Before
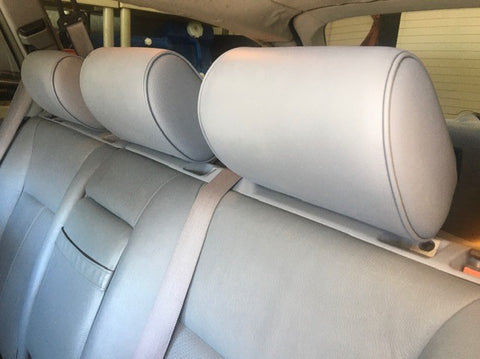
After
How to Refinish Headrests with ColorBond
Step 1: Prep the Headrests
Like any DIY project, success starts with preparation. Remove the headrests from your car so you can work on them comfortably. Clean them thoroughly using ColorBond Prep Cleaner, which removes oils, dirt, and residue that can interfere with adhesion.
If your headrests have a glossy finish, lightly scuff them with a fine abrasive pad or 1200-grit sandpaper. This step helps the coating bond properly. Wipe away any dust before moving on. Refinishing headrests is all about setting the surface up for success, and this step is key to getting a long-lasting result.
Step 2: Apply Light, Even Coats
Now it’s time to spray. Shake the can of ColorBond well and spray in light, even passes, holding the can about six to eight inches from the surface. Three or four thin coats usually provide great coverage without runs or heavy buildup.
Allow about five minutes of drying time between coats. The beauty of refinishing headrests with ColorBond is how fast it dries and how easy it is to apply. Even if you’re not a pro, you’ll be surprised at how smooth the finish looks as it levels out.
Step 3: Reinstall and Enjoy
Once your final coat has dried, your headrests are ready to go back in the car. The difference will be immediate. Whether you matched the original factory color or chose something bold and custom, refinishing headrests changes the feel of the entire interior.
Unlike ordinary spray paint, ColorBond is engineered for leather, vinyl, and plastic. It bonds to the surface, stays flexible, and won’t peel or crack, even with daily use. That means your fresh finish will hold up for years to come.
Tools You’ll Need to Refinish Your Headrest
Before you start refinishing headrests, gather a few basic tools to make the process smooth and efficient:
- ColorBond LVP OE: Choose the OEM-matched color that best fits your vehicle’s interior for a seamless, factory-quality look.
- ColorBond Prep Cleaner: Removes dirt, oils, and conditioners to ensure the surface is completely clean and ready for coating.
- Masking tape: Protects surrounding areas from overspray so only the headrest surface gets refinished.
- Clean, lint-free cloths: Ideal for wiping surfaces and applying cleaner without leaving residue or fibers behind.
- Fine abrasive pad or 1200-grit sandpaper: Lightly scuff glossy areas to help the coating bond more effectively.
- Disposable gloves: Keeps your hands clean and free from oils that could transfer to the surface.
- Drop cloth or newspaper: Shields your workspace from overspray, keeping cleanup quick and easy.
With these simple tools, you’ll be ready to achieve a professional-quality finish in less than an hour.
Start Your Refinishing Project Today with ColorBond
You don’t have to spend thousands to make your interior look new again. Whether you’re refinishing headrests, armrests, or door panels, ColorBond delivers a durable, factory-quality finish that restores beauty and saves money. Trusted by professionals and DIYers alike, ColorBond products make interior restoration simple, affordable, and rewarding. Ready to see what you can do? Order your ColorBond LVP OE today and start transforming your vehicle’s interior with confidence.